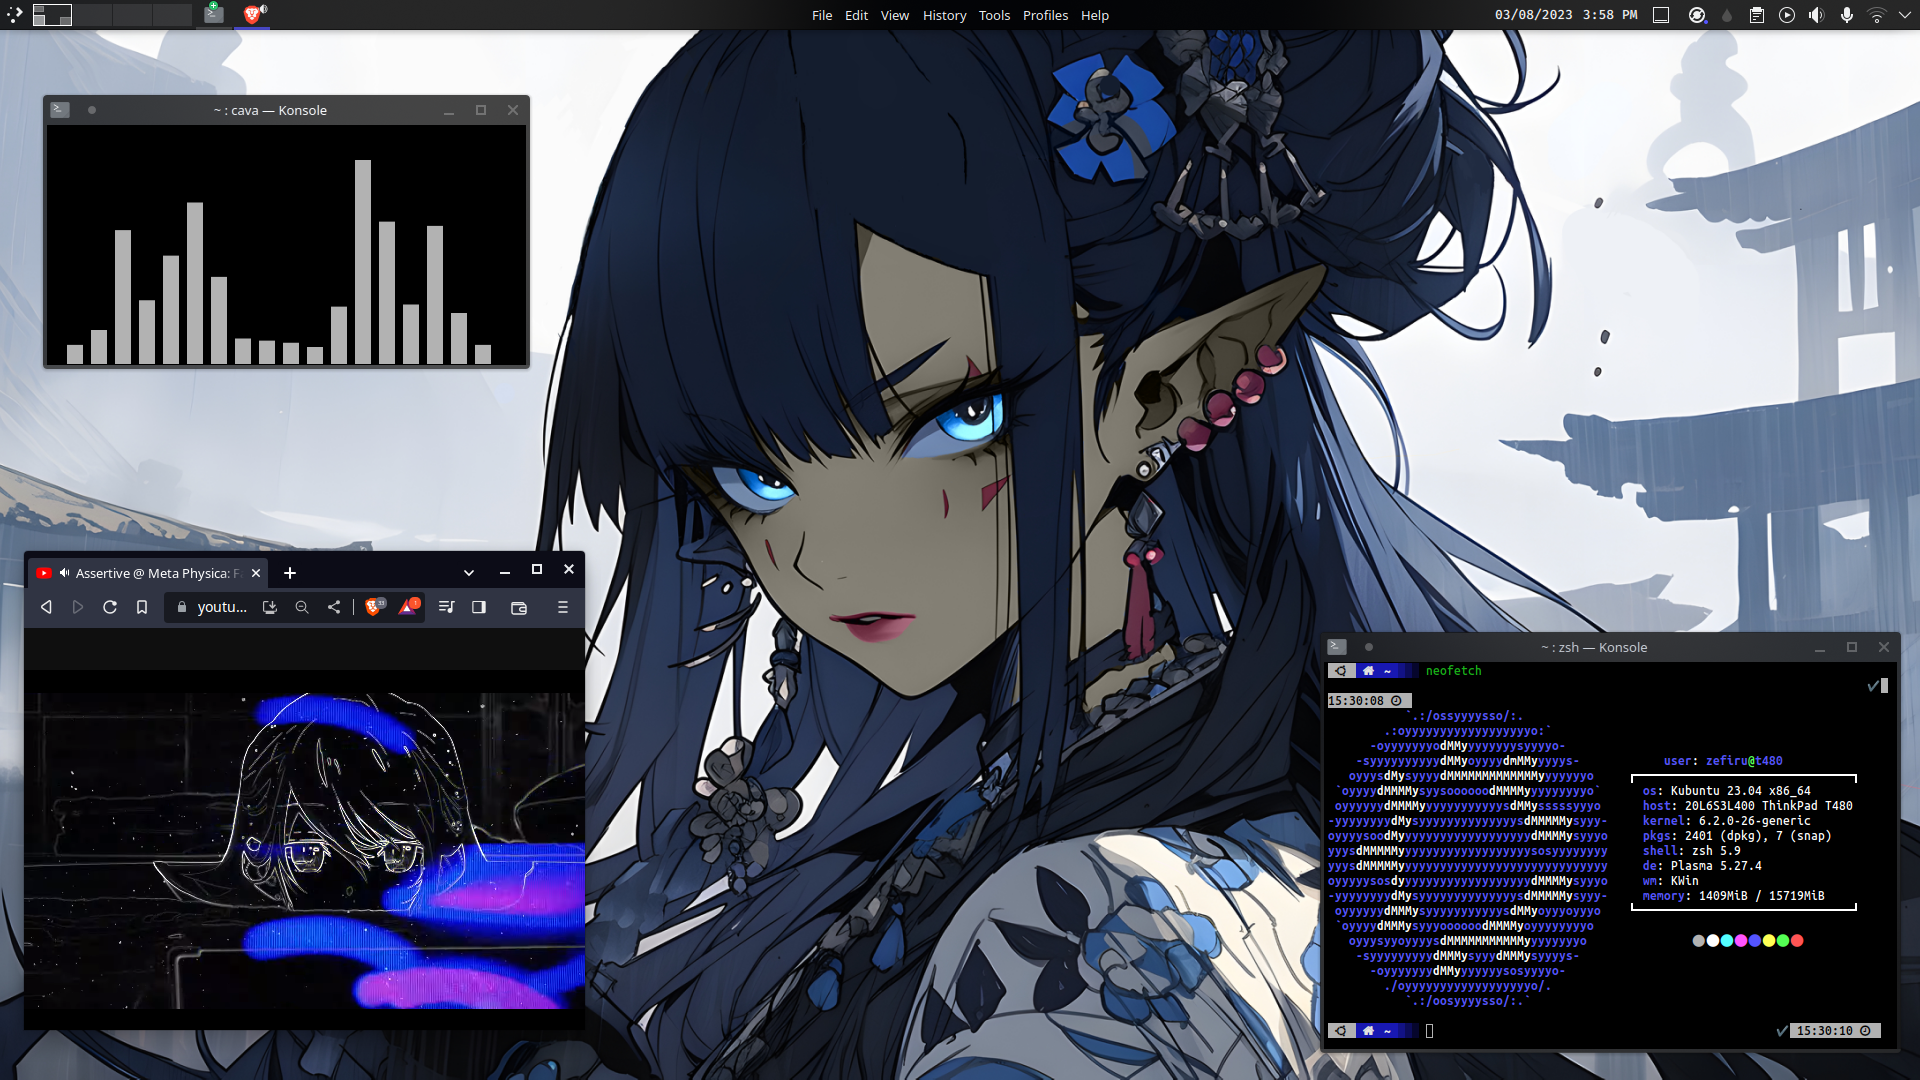
How to Install or Uninstall Neofetch
Neofetch is a handy command-line tool to display system information details such as operating system, software, and hardware in an aesthetically-pleasing way.
It can be further customized and tinkered to modify the formatting of the information being displayed. You can even change the operating system logo to different ASCII art or even a .jpg picture!
This lets you add spice to your desktop screenshots for showcasing purposes.

Installation for Windows
Firstly, we have to install a package manager CLI tool to make installing utilities like this easier.
To do this in Powershell, run these commands:
iwr -useb get.scoop.sh | iex;      # installs scoop
Set-ExecutionPolicy RemoteSigned;  # allows execution of local scripts
scoop install neofetch;            # installs neofetch
neofetch                           # runs neofetch
Uninstallation
Uninstallation is just as easy, if ever you do not want to use neofetch or scoop again.
scoop uninstall neofetch;       # uninstalls neofetch
scoop uninstall scoop           # uninstalls scoop
Set-ExecutionPolicy Default     # sets your ExecutionPolicy back to default
Installation for Linux
We'll use apt, or your default package manager to install it.
sudo apt-get update &&             # updates package lists
sudo apt-get install neofetch &&   # installs neofetch
neofetch                           # runs neofetch
Uninstallation
sudo apt-get purge neofetch # removes the package & config files
- if you prefer to keep the configuration files, use
apt-get removeinstead.
Installation for MacOS
It's just as simple as the Linux way with the brew package manager.
brew install neofetch
Uninstallation
brew uninstall neofetch
Customization
If you want to customize your Neofetch configuration to your own look & feel, you'll have to edit the configuration file.
-
In Windows, it's located in
C:\Users\<YOUR_USER>\scoop\apps\neofetch\<VERSION_NUM>. -
In Linux, it's found in
${HOME}/.config/neofetch/config.conf.
This article outlines the different approaches in customizing your configuration file: How to Customize Neofetch to Your Own Feel.